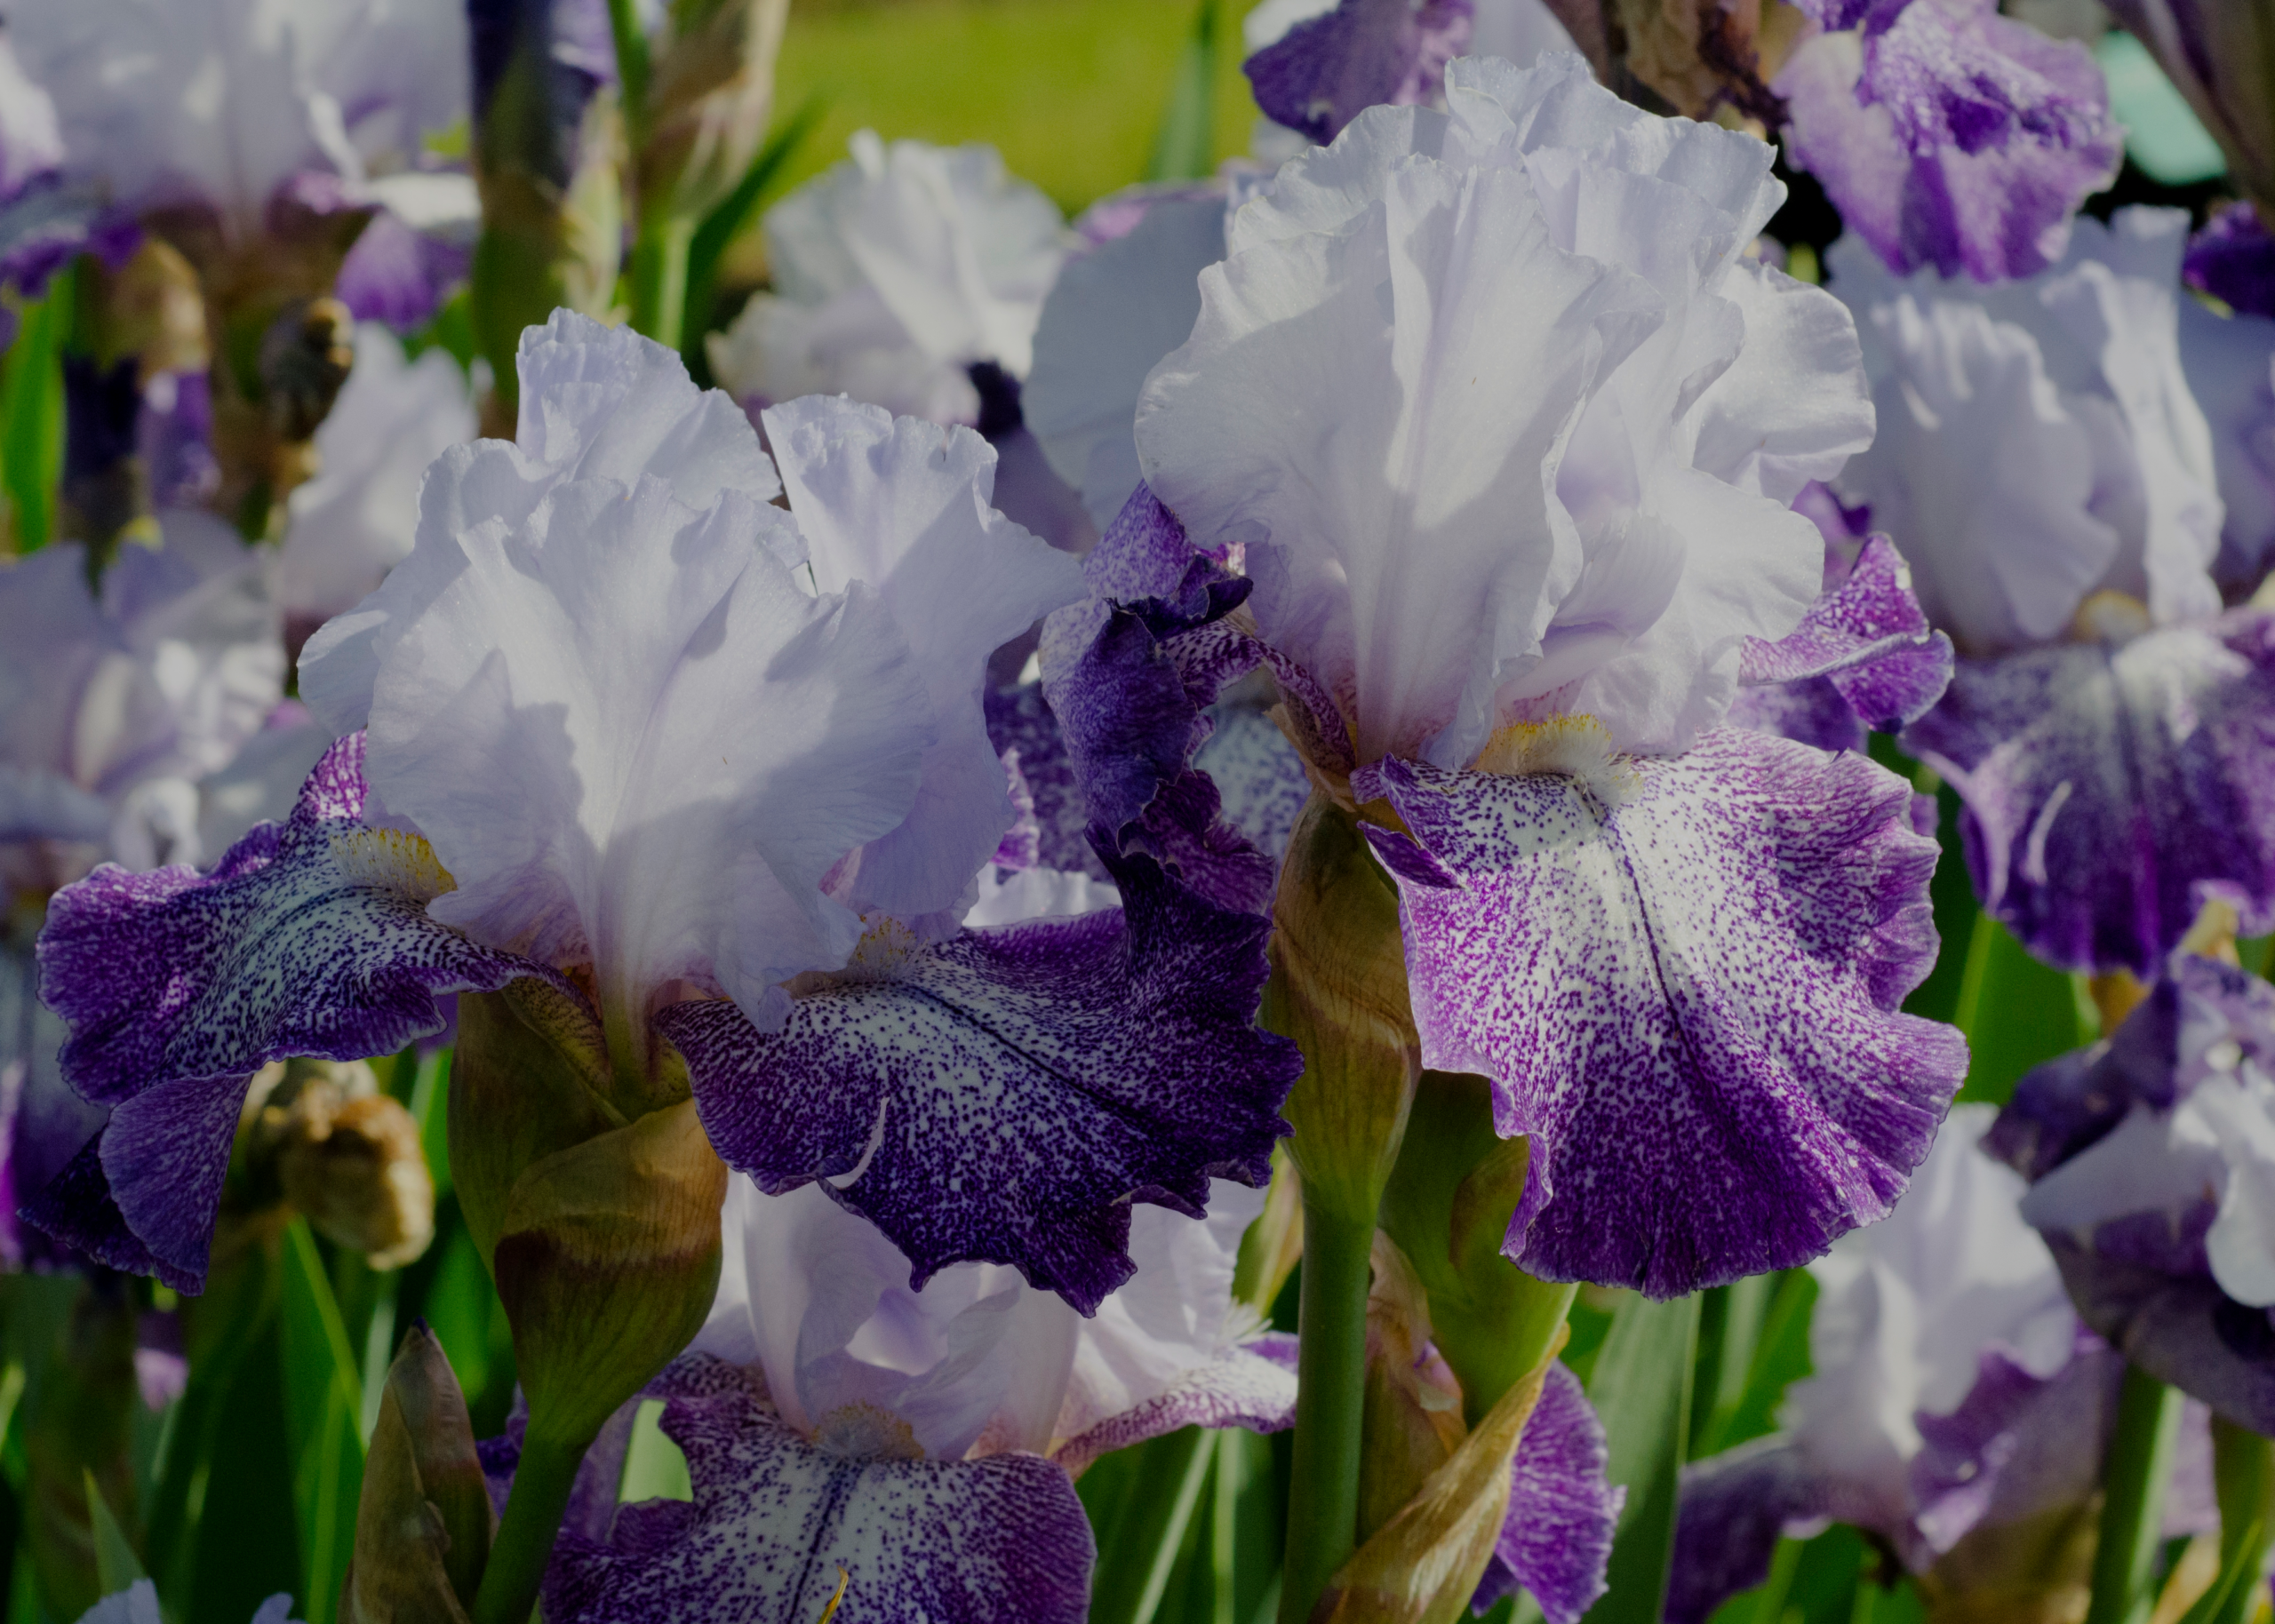

How to Plant and Grow Bearded Iris
Irises are among the easiest of perennials to grow, and they give an abundance of beauty with minimum care. The iris has a thick fleshy root called a “rhizome” (pronounced rye-zome) about like a tough potato in texture. When you buy a new iris, you will probably receive a rhizome with clipped roots and leaves. It can remain out of the ground for a week or two without serious harm, but the sooner it is planted, the better.
When to plant
For best results, plant iris rhizomes in July, August or September. This is also the best time (plants are normally dormant during the heat of July and August) to divide and replant iris that have become overcrowded, usually after three to five years. It is important that the roots of newly planted irises be well established before the end of the growing season. Plant your iris at least four to six weeks before your first hard freeze or killing frost.
Where to plant
Irises require at least a half-day (6-8 hours) of direct sunlight. Some afternoon shade is beneficial in extremely hot climates, but in general irises do best in full sun. Iris will grow in deep shade, but probably not flower. Provide your irises with good drainage. A raised bed or planting on a slope are ideal places to plant iris. Good air circulation is essential and water should not stand in the beds.
Soil preparation
Bearded irises will thrive in most well drained soils. Spread fertilizer and work it into the top of the soil. Bone meal and a good garden fertilizer, low in nitrogen, are good for irises, but manure should be used only after it has aged for about a year. Otherwise, it may cause rot. A well prepared bed will result in better growth and more bloom. Don’t starve your irises or make them compete with nearby grass or weeds for food and water
If you have heavy soil, adding humus – compost – or other organic material – will improve drainage. Gypsum is an excellent soil conditioner that can improve most clay soils. The ideal pH for irises is 6.8 (slightly acidic) but irises are quite tolerant of less-than-perfect soils. Lime may be added to acidic soils and sulfur may be added to alkaline soils. Have your soil tested before making any correction.
Planting Depth
Plant your rhizomes at or just barely below the surface of the ground. Irises should be planted so the tops of the rhizomes are visible and the roots are spread out facing downwards in the soil. However, in extremely hot climates or with very light soils, cover rhizomes with up to one inch of soil. Tamp the soil firmly to anchor the rhizomes until new roots begin to grow, and water well. It is a common mistake to plant Irises too deeply.
Basic Planting steps
- Build up a small mound of soil in the center of the planting hole
- Center the rhizome on the soil mound and spread out the roots on either side
- Firm the soil around the roots. Newly planted rhiozmes should be watered thoroughly.
Be patient. Irises are perennials and require time to grow. New growth may be noticeable with 2-3 weeks and begins with a new center leaf in the fan. Depending upon the maturity of the rhizome and the geographica location, there may or may not be bloom the first Spring.
spacing plants
Planting rhizomes 12 to 24 inches apart is the norm. Close planting results in immediate effect, faster clump formation, and more color but makes dividing clumps a necessity in two to three years. The photo to the below shows iris being planted in groups of three. Notice that each of the rhizome “toes” face inward towards each other about 8 inches apart as they are planted. The rhizomes will increase in the direction where the leaves are.
Watering
Newly planted rhizomes need moisture so their root systems develop. Once established, irises should be watered when the top three inches of soil dry out. The watering frequency will depend to a great extent on your environment. Over watering of Irises is a common mistake. After planting, water well and continue watering until the first good rain. If lack of rain persists, watering should be deep enough to penetrate the shallow root system. Less frequent deep watering is better than frequent shallow watering.
fertilization
The soil type for your area will determine your fertilizer needs. Superphosphate, or a well-balanced fertilizer with an N-P-K ratio of 10-10-10 or 5-10-10 are recommended. Avoid anything high in nitrogen as it encourages soft growth that is susceptible to disease. Provide a light application in early spring and again a month after bloom . Place fertilizer around rhizomes, not directly on them. Alfalfa pellets (without salt) are extremely beneficial when incorporated in the soil around newly planted irises. Do NOT use Feed and Weed preparations.
dividing clumps
When irises become crowded, usually every three to four years, bloom will decline. At this time, old clumps may be thinned by removing several divisions and leaving a portion of the clump in the ground. A better practice is to remove the entire clump, replenish the soil and replant a few large rhizomes.
Digging and separating is best done between one and two months after bloom season, usually in July or August. Soon after this the irises grow roots which help to hold the plant firmly during the winter in areas where freezing and thawing can result in heaving the rhizome out of the ground. If you live in this type of climate, a mulch of salt hay can be very beneficial.
When digging, keep all plants carefully labeled with their names, for sure identification. It is wise to keep diagrams of your planting area to double check individual labels on the plants.
General garden care
It is extremely important to keep your iris beds free of weeds and fallen leaves so the rhizomes may bask in the sun. Spacing plants so there is good air circulation will help prevent diseases. Break off bloomstalks as soon as the bloom season is over. This prevents contamination of your named varieties by chance bee crosses. These crosses would cause seedpods to form that might go unnoticed. If given time to ripen, they might drop seeds to the ground.
other references
Note: Much of the above planting information was derived from William Shear’s book The Gardener’s Iris Book published by The Taunton Press. Mr. Shear is a biologist at Hampden-Sydney College in Virginia. He has been growing irises for more than 50 years.
For information on any of the bearded iris classes see the AIS Section devoted to that type of iris.